
How To
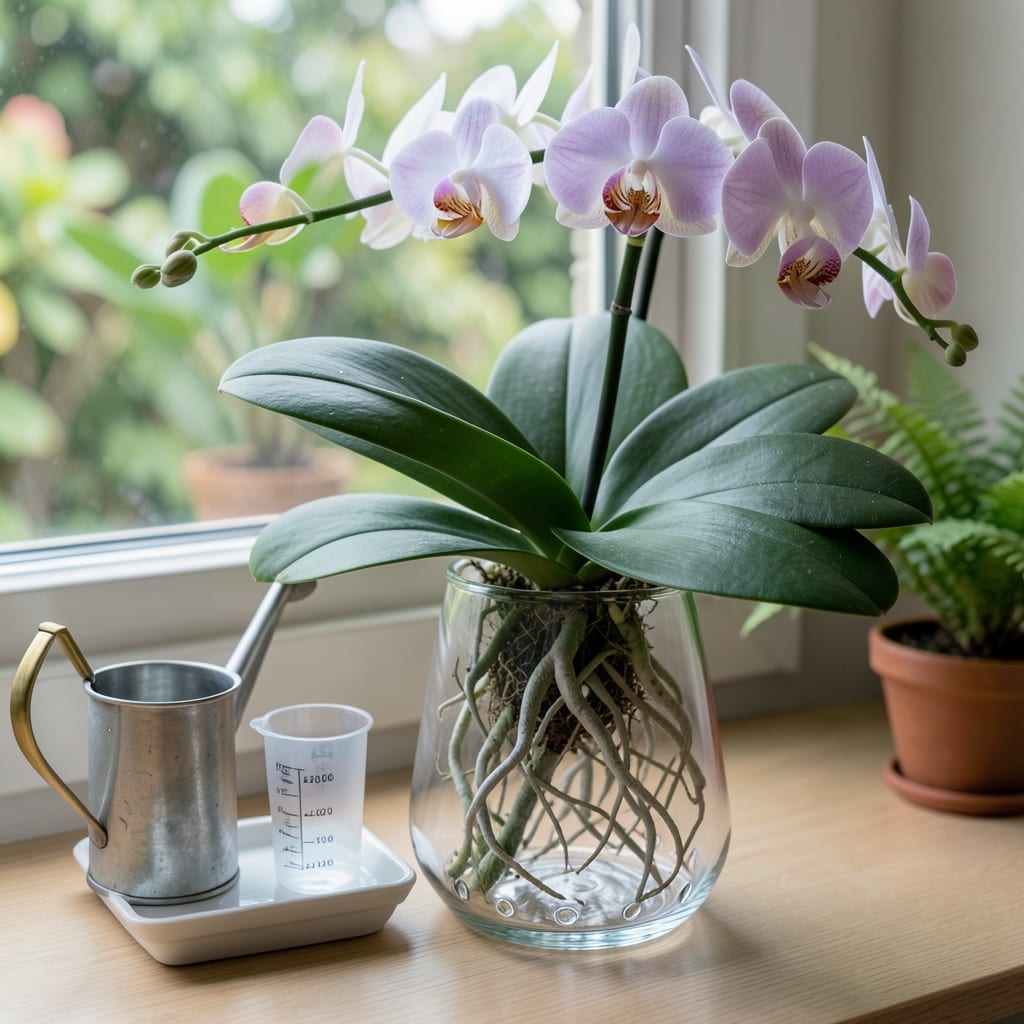
Optimal water levels for orchid vases: the science behind perfect hydration
Orchids thrive on a delicate balance of moisture—too little causes wilting, while too much drowns their roots. The key lies in understanding your orchid’s hydration needs and how the vase affects evaporation and root health. Most orchids, especially Phalaenopsis (the most common type), prefer their roots to dry slightly between waterings, but they still need consistent moisture in their vase environment.
When filling a vase for orchids, think of it as creating a mini humidifier. The water level should be just enough to maintain humidity around the roots without submerging them. For a standard 6-inch vase, aim for 1/3 to 1/2 full with water. This volume ensures the air around the orchid stays moist while allowing the roots to breathe.
Different orchid varieties have unique needs—Cattleya orchids, for example, prefer slightly drier conditions, while Vandaorchids thrive in higher humidity. Always check your orchid’s care label for specific guidance, but the vase water level remains a critical factor in maintaining the right environment.
The season also plays a role in water volume. During summer months, when humidity is naturally higher, you might reduce the water level slightly to prevent root rot. In winter, when indoor air is dry, a slightly deeper water level can help maintain the necessary moisture.
Another critical factor is the material of the vase. Glass vases retain moisture longer than ceramic or plastic, so you’ll need to monitor water levels more frequently. Terracotta, while porous, can dry out too quickly—balance is everything!
| Orchid Type | Ideal Vase Water Level | Watering Frequency | Seasonal Adjustments |
|---|---|---|---|
| Phalaenopsis | 1/3 to 1/2 full (6-inch vase) | Every 7-10 days | Reduce in summer, increase slightly in winter |
| Cattleya | 1/4 to 1/3 full (smaller volume) | Every 10-14 days | Drier in summer, minimal in winter |
| Vanda | 1/2 to 3/4 full (higher humidity) | Every 5-7 days | Consistent year-round |
| Dendrobium | 1/4 full (dry conditions) | Every 14-21 days | Drier in summer, minimal in winter |
The roots of your orchid are the best indicator of proper hydration. Healthy roots should appear green or silver-gray, not mushy or black (a sign of rot) or completely dried out. If the roots feel spongy, reduce the water level in the vase immediately. Conversely, if they look shriveled, it’s time to increase humidity slightly.
Humidity is just as important as water volume. A vase with the right water level creates a microclimate that mimics the orchid’s natural tropical habitat. For low-humidity environments (common in homes with central heating), consider placing a small humidifier near your orchid or grouping plants together to boost humidity naturally.
One common misconception is that orchids need constant water in their vase. In reality, stagnant water can cause bacterial growth and root rot. Always use room-temperature water and refresh it every 3-5 days, even if it looks clean. This prevents buildup of minerals and algae, which can harm your orchid.
For long-lasting blooms, consistency is key. Monitor your orchid’s response to the water level in its vase and adjust as needed. With the right balance, your orchid can bloom for weeks or even months, rewarding you with stunning, vibrant flowers.
Step-by-step guide: how to measure and maintain water for orchid vases
Filling your orchid vase with the right amount of water isn’t about eyeballing—it’s about creating the perfect moisture balance. Start by choosing a vase that’s 1/3 to 1/2 full of water for most orchid varieties like Phalaenopsis. This ensures roots stay hydrated without drowning in excess moisture, which can lead to root rot or fungal growth.
Use a measuring cup or pitcher to add water precisely. For a standard 6-inch vase, aim for about ½ cup (120ml) of room-temperature water. Avoid tap water with high chlorine or fluoride—opt for filtered or distilled water instead. Let it sit for 24 hours to evaporate any chemicals that could harm your orchid’s delicate roots.
🌸 Step-by-Step Watering Guide for Orchid Vases
- Step 1: Fill the vase to 1/3 to 1/2 capacity with room-temperature water. Use a measuring cup for accuracy.
- Step 2: Submerge roots for 5-10 minutes every 7-10 days (adjust for humidity levels). Phalaenopsis orchids thrive with weekly soaking.
- Step 3: Drain excess water completely. Never let orchids sit in standing water—use a vase with drainage holes or tilt it to empty after soaking.
- Step 4: Refresh water every 2-3 days or when it looks cloudy. Stagnant water breeds bacteria that harm roots.
- Step 5: Monitor humidity. Place the vase on a pebble tray or near a humidifier to mimic tropical conditions, especially in dry climates.
Timing matters just as much as volume. Water your orchid in the morning to allow excess moisture to evaporate during the day. This mimics their natural habitat, where roots dry slightly between rain showers. Avoid watering at night, as damp foliage can invite pests like aphids or bacterial infections.
Check moisture levels by gently lifting the orchid from its vase. If the potting mix feels dry to the touch, it’s time to water. If it’s still damp, wait another 2-3 days. Overwatering is the #1 killer of orchids—yellowing leaves or mushy roots are red flags to cut back immediately.
Seasonal adjustments are key. In summer months, increase watering frequency to every 5-7 days due to higher evaporation rates. During winter dormancy, reduce watering to bi-weekly and let the mix dry out slightly between waterings. This prevents root suffocation in cooler temperatures.
Pro tip: Use a clear vase to monitor root health. Healthy roots should be silver-green when dry and green when hydrated. If roots turn brown or mushy, your water volume or frequency is off—adjust immediately to save your orchid.