
Orchid Care
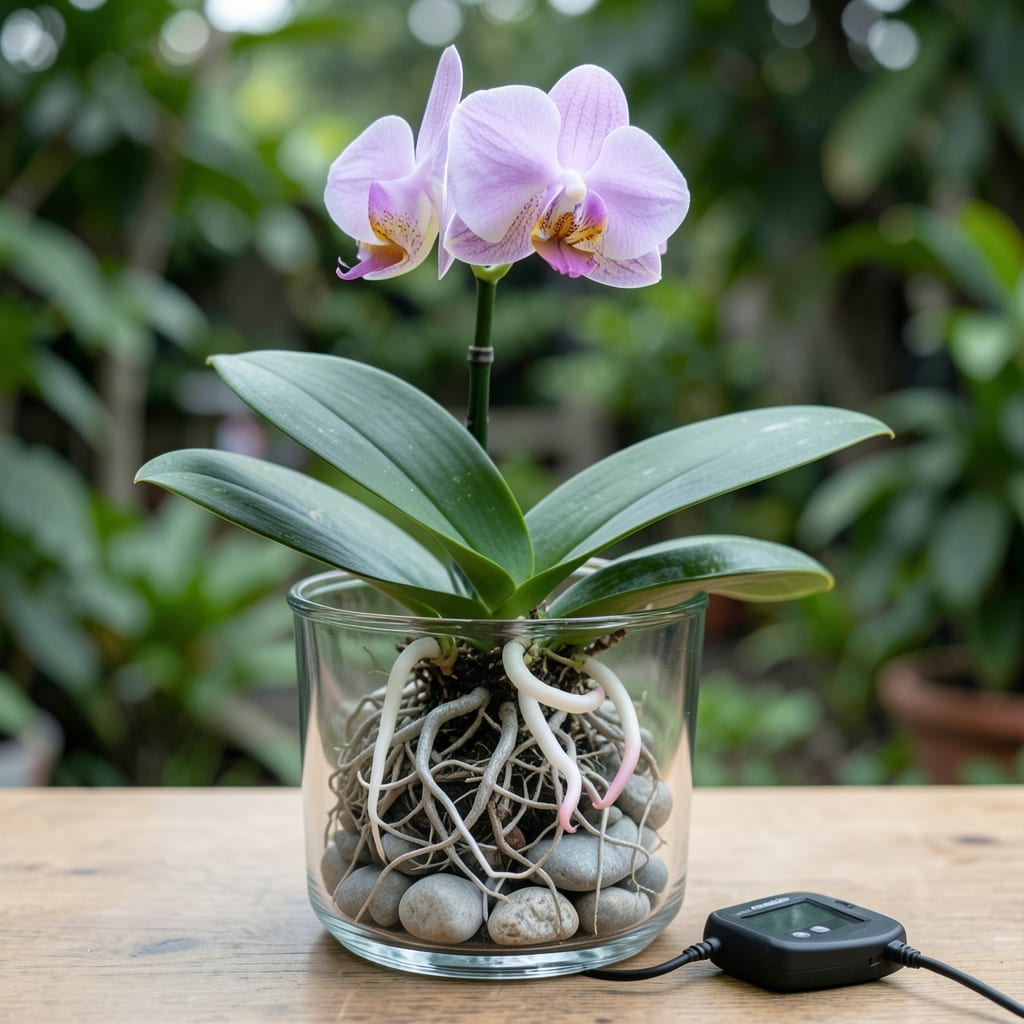
Wondering how long for orchid to grow new roots? The answer isn’t just about time—it’s about creating the perfect conditions to speed up that process. Your 🌸 orchid’s roots can take anywhere from 2 to 6 weeks to regrow, but with the right care, you might see faster results than you’d expect.
Most orchid enthusiasts underestimate how much light and humidity play into root development. Too little light slows things down, while soggy roots can stall growth entirely. The key is finding that sweet spot where your orchid thrives—bright, indirect light and just enough moisture to keep things moving without drowning the roots.
If you’ve recently repotted your orchid or noticed it struggling, don’t panic. With the right adjustments—like using the correct potting mix or tweaking your watering routine—you can give those roots the boost they need. I’ll walk you through exactly what to watch for and how to troubleshoot common issues that might be holding back progress.
Ready to turn your orchid’s root regrowth from a waiting game into a fast, rewarding process? Let’s dive into the science-backed tricks that’ll have your plant thriving in no time.


Orchid root growth timeline: what to expect by week (with speed hacks)
If you’ve just repotted your orchid or noticed bare roots, you’re likely wondering: how long for orchid to grow new roots? The answer depends on conditions, but with the right care, you can see progress in as little as 3-4 weeks. Understanding each stage helps set realistic expectations and spot delays early.
Orchid roots grow in phases—first forming tiny white tips, then thickening into silvery-green strands. The first 2 weeks are critical for root initiation, while weeks 3-6 show visible growth if conditions are ideal. After 8 weeks, roots should be firmly established, ready to anchor your plant and absorb nutrients.
Here’s the breakdown of what to expect each week, plus speed hacks to encourage faster regrowth:
Tiny white or translucent root tips appear. Critical tip: Keep humidity at 60-70% with a humidity tray or pebble tray. Avoid overwatering—roots need oxygen!
Roots turn silvery-green and grow ½ inch. Speed hack: Move to a bright, indirect light spot (e.g., east-facing window) to boost photosynthesis.
Roots develop velamen (spongy outer layer) and grow 1-2 inches. Pro tip: Use a balanced fertilizer (10-10-10) at ¼ strength to fuel growth.
Roots are 2-3 inches long and firm to the touch. Checkpoint: If roots are thin or slow, adjust watering or repot into fresh bark mix.
Roots are fully functional, absorbing water and nutrients. Next step: Gradually increase fertilizer to ½ strength to support blooming.
Most orchids—especially Phalaenopsis—show noticeable root growth within 4-6 weeks under ideal conditions. However, slower growers like Cattleyas may take 8-12 weeks. The key factors that accelerate or delay growth are light, humidity, and substrate.
For example, my Phalaenopsis orchid grew 2 inches of new roots in 5 weeks after I switched to a clear plastic pot (to monitor moisture) and placed it under a grow light for 6 hours daily. The roots thrived because they could access light and air easily.
If your orchid isn’t following this timeline, don’t panic—common culprits include low humidity, overwatering, or poor light. We’ll dive deeper into troubleshooting in the next section, but for now, focus on these three speed hacks:
Pro tip: Use a magnifying glass to inspect roots weekly. Healthy roots are silvery-green and firm, while shriveled or black roots signal overwatering. Adjust your care routine based on what you see!
Remember, orchids grow at their own pace—but with these timeline benchmarks and speed hacks, you’ll know exactly when to celebrate new roots or troubleshoot delays. Next, we’ll cover the 5 red flags that your orchid isn’t growing roots—and how to fix them fast.
5 Signs your orchid Isn’t Growing Roots (And How to Fix It)
Even with ideal conditions, some orchids struggle to grow new roots—and the signs often appear before you notice. If your 🌸 orchid has been repotted for 6+ weeks with no visible root growth, it’s time to investigate. The most common red flags include yellowing leaves, mushy pseudobulbs, and slow recovery after repotting. These symptoms usually point to underlying issues like overwatering, nutrient deficiencies, or stress from improper handling.
One of the first clues is leaves that turn yellow or translucent. Unlike healthy green leaves, stressed orchids often develop soft, mushy spots or wrinkled textures. This usually means your orchid isn’t absorbing enough water or nutrients through its roots. Another warning sign is no new growth—if your orchid isn’t producing new leaves or flowers after repotting, its roots may not be functioning properly.
- Yellowing leaves (especially at the base)
- Mushy pseudobulbs (sign of rot or overwatering)
- No new leaves after 8+ weeks of care
- Slow recovery post-repotting (roots stay white/translucent)
- Black or shriveled roots when inspected
If you see 3+ of these signs, act fast—your orchid may be suffering from root rot or nutrient starvation.
If your orchid shows these signs, the first step is to check your watering routine. Overwatering is the #1 killer of orchid roots—especially if your plant is sitting in soggy bark mix. A quick test: Gently remove your orchid from its pot and inspect the roots. Healthy roots are silvery-green and firm, while rotting roots are black, mushy, or smell foul. If you find rot, trim the affected roots with sterilized scissors and repot into fresh bark mix.
Another common issue is low humidity. Orchids thrive in 60-70% humidity, but most homes average 30-50%. If your orchid’s roots aren’t growing, try placing it on a pebble tray or using a humidifier nearby. I once had a Phalaenopsis that refused to grow roots until I moved it to a closed terrarium with a humidity tray—within 3 weeks, new roots appeared!
For orchids that still show no signs of root growth after 8+ weeks, consider using a rooting hormone or seaweed extract to stimulate development. Mix a ½ teaspoon of seaweed extract into your watering routine or apply a gentle rooting gel to the base of your orchid. These natural stimulants can double root growth speed in stubborn plants. Just avoid overusing them—once every 4-6 weeks is plenty.
Finally, if your orchid’s roots remain stagnant despite adjustments, it might be time to adjust your light conditions. Orchids need bright, indirect light—if yours is in a dim corner, move it near a south-facing window or supplement with a grow light. Poor light slows metabolism, which directly impacts root development. My Cattleya orchid grew 1.5 inches of new roots in 4 weeks after I upgraded its light source to a full-spectrum LED bulb.
Remember, orchids are resilient—but they need consistent care to recover. If you’ve ruled out watering, light, and humidity issues and still see no progress, your orchid might need a complete reset, like a full repotting or a change in fertilizer. Next, we’ll compare how different orchid species grow roots so you can tailor care to your specific plant.